videogames development

Unity 3D Game Engine – Animator Controller Layers

Unity 3D Game Engine – Animator Controller Layers

In Unity 3D le clip di animazione si possono stratificare in layer

1. Hierarchy> Select your character> Inspector> Animator> Controller> Animator Window> Layer> ‘+’

– Name: assegnare un nome, ad esempio ‘Respiro Affannoso’

– Weight: 0 il Layer non influenza il risultato finale
1 il Layer influenza con peso massimo il risultato finale

– Mask: l’animazione del layer potrebbe influenzare solo una parte specifica di ossa che compongono lo scheletro

– Blending: Override, ricopre i keyframe degli altri livelli sostituendoli
Additive, si somma ai keyframe esistenti (ad esempio l’animazione di un respiro affannato si somma)

– Sync: si sincronizza con un livello specifico ricreandone la struttura delle clip

– Timing

By |Unity3D, Video Games Development|Commenti disabilitati su Unity 3D Game Engine – Animator Controller Layers

Unity 3D Game Engine – Animation – Curve and Events

Unity 3D Game Engine – Animation – Curve and Events

Animation clips can have Curves and Events

Curves

Le curve possono essere richiamate ed applicate a elementi esterni, come il Collider del personaggio.

1. Import a character inside .fbx file> Inspector> Animations> Select an Animation Clip

2. You can find at the Bottom Animation Tab> Curves> Expand the menu> ‘+’ icon> Give it a name> Double click the curve> Curve Editor will open> Edit the Curve.

Events

Un evento può essere posizionato ad un fotogramma particolare della clip di animazione. Ad esempio se il nostro personaggio salta, al fotogramma in cui ritorna a terra possiamo associare un effetto sonoro particolare.
Gli eventi saranno definiti in Inspector> Animations etc… e riutilizzati con degli Script

1. Import a character inside .fbx file> Inspector> Animations> Select an Animation Clip

2. You can find at the Bottom Animation Tab> Events> Expand the drop down menu> Scrub the animation> Find the frame> click the button to the left to the timeline ‘|+’> the Events Property Window will appear> Give it a name (example: PlayLandingSound)

By |Unity3D, Video Games Development|Commenti disabilitati su Unity 3D Game Engine – Animation – Curve and Events

Unity 3D Game Engine – Animation Properties

Unity 3D Game Engine – Animation Properties

Import Animations stored inside a .fbx file

1. Import your character inside a .fbx file> Inspector> Animations

2. Check ‘Import Animations’> Apply, Unity will import animations stored inside .fbx file

– Bake Animation: convert the animation to IK to FK

– Compress: Off – KeyFrame Reduction – Optimal
(a mio parere è megli effettuare queste ottimizzazioni dentro a 3DSMAX prima di esportare in .fbx)
— Errors, the smaller the value the higher is the precision the less compression you get

– List of clips avaiable inside the .fbx> + or – to create clips o remove clips

3. Select a clip

– Loop Time: check if you want loop the animation

– Traffic signal: click over it to see a graph, it can be green (il loop è buono perchè la posizione di inizio e fine si somigliano), giallo (loop meno buono), rosso (loop pessimo)

– Root Transform Rotation
— Bake Into Pose: se attivo l’Avatar di Unity non ruoterà anche se nell’animazione originale da 3DSMAX ci saranno dei cambi di direzione. Si attiva nelle animazioni dove il personaggio deve procedere diritto, come una camminata o una corsa standard.
— Based Upon (at Start):
— Body Orientation: la rotazione del pelvis si baserà sulla posizione iniziale all’interno di Unity
— Original: la rotazione del pelvis si baserà sulla posizione iniziale all’interno di 3DSMAX

– Reset Transform Position Y
— Bake into pose: se attivo il personaggio non si sposta in Y

– Reset Transform Position XZ
— Bake into pose: se attivo il personaggio non si sposta sul piano X, si sposterà solo in Y

By |Unity3D, Video Games Development|Commenti disabilitati su Unity 3D Game Engine – Animation Properties

Unity 3D Game Engine – Humanoid Avatars

Unity 3D Game Engine – Humanoid Avatars

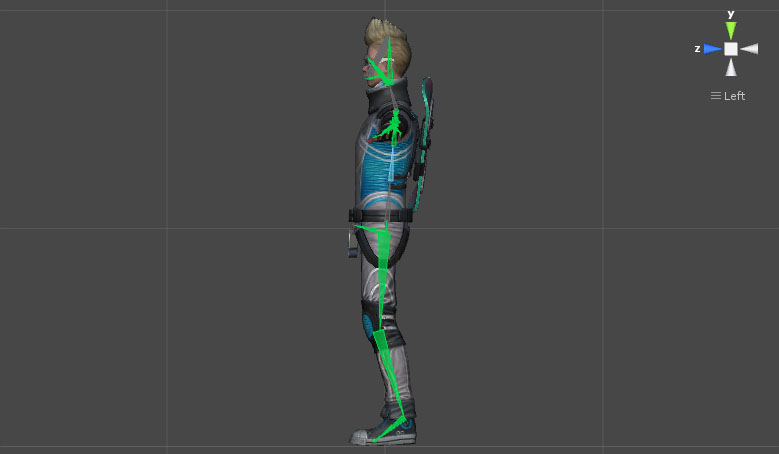
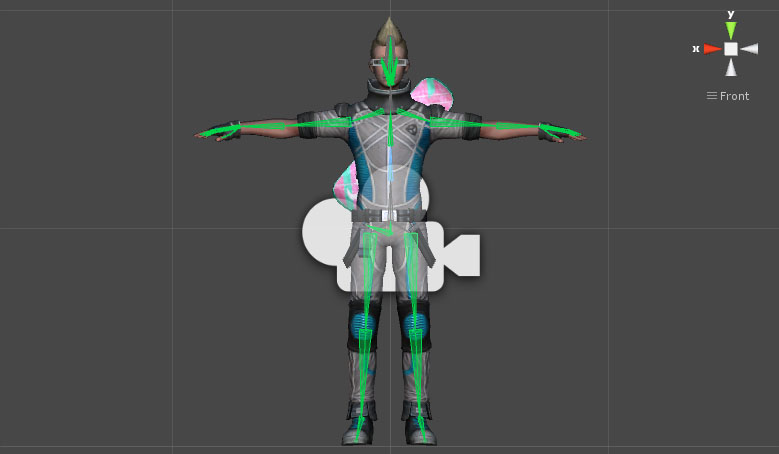
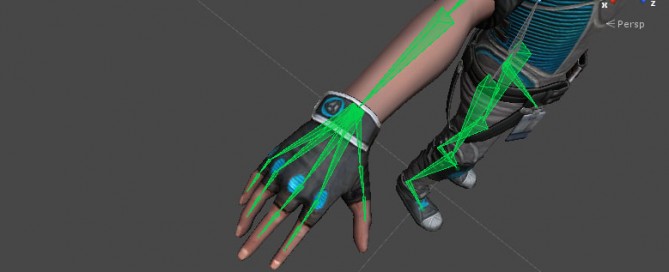
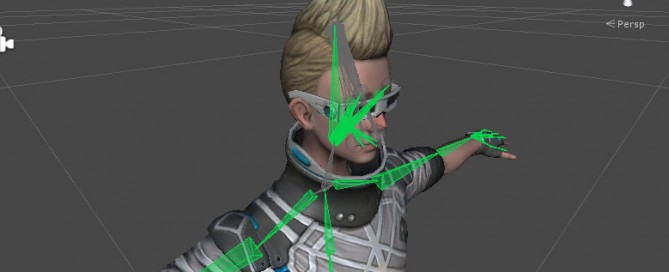
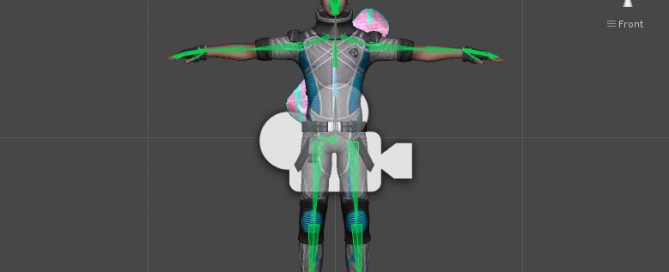
Inside Unity 3D ‘Avatar’ you can store informations about rig and skeleton.

1. Import a character in .fbx format

2. Project Window> select the imported object> Inspector> Rig

– Animation Type: select Humanoid

– Avatar Definition:

– Create From This Model: to create a new Avatar

– Copy From Other Avatar: to import an existing Avatar

– Optimize Game Objects:

– check, Unity will create his own optimized character bones, it will improve your game performance.
In most cases it is the best way.
Se importo da 3DSMAX+Biped, Unity seleziona tra le ossa di Biped solo quelle che gli servono,
il resto restano presenti ma sono disattivate.

– uncheck, Unity will create a lot ‘Empty Game Objects’ to represent all character bones.
You will have more control over bones structure, but it is much less efficient.
Se importo da 3DSMAX+Biped resta la struttura ossea completa di Biped.

-> La soluzione migliore è a mio avviso utilizzare poche ossa direttamente in 3DSMAX,
in questo modo si otterrà più controllo sull’animazione finale.

– Extra Transform to Expose (you will see that if ‘Optimized Game Object is checked’)
If you want to add a cup of coffee to the hand of your character, you will need to expose the hand transform.
Click ‘+’ button> select from the drop down menu the Hand

3. Inspector> Rig> ‘Configure’ button> Apply if request
For a Humanoid Character you do not need a lot of bones. If you do not have too much bones it will improve your game performance.
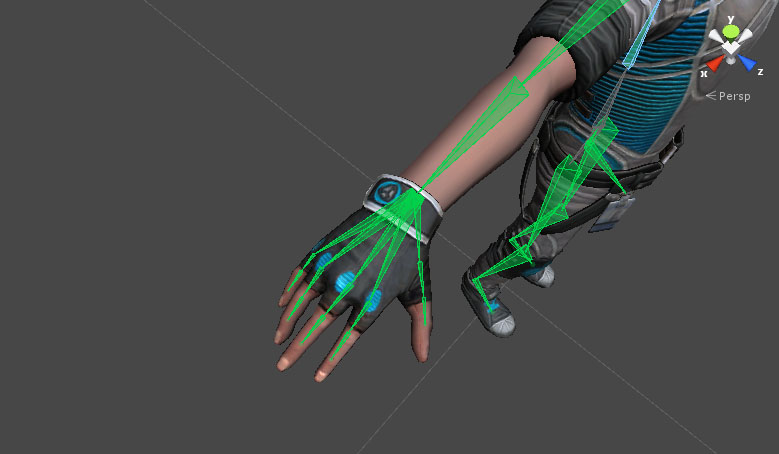
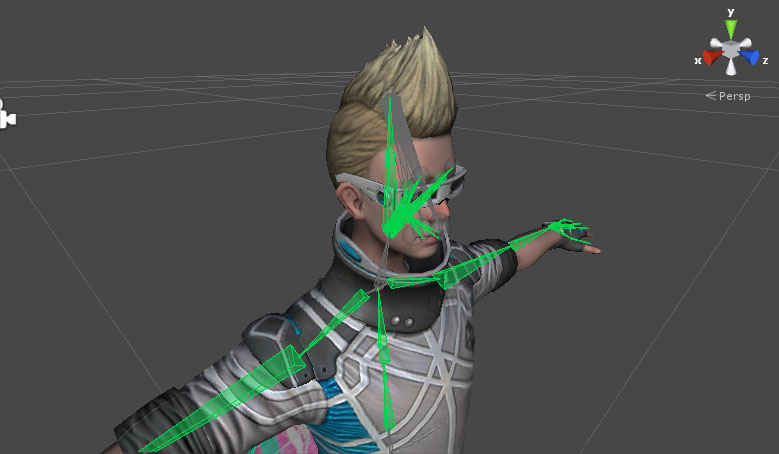
unity3d-001

unity3d-002

unity3d-003

unity3d-004

unity3d-005

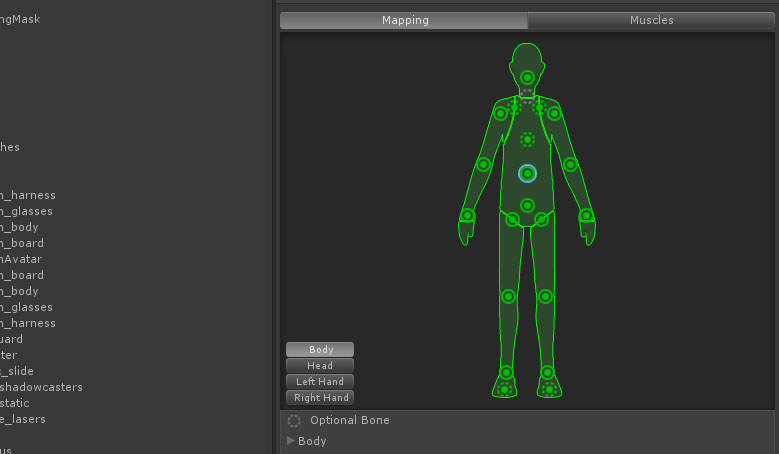
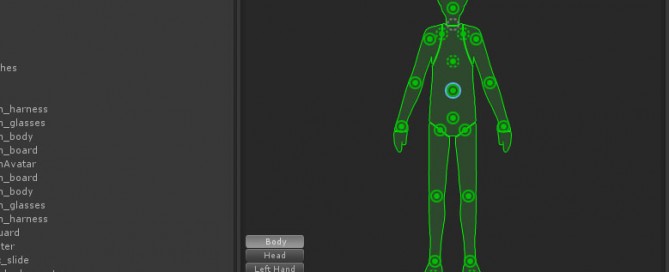
– Mapping: the bone definition

– Bottom, ‘Mapping’ button> Automap, it is the automatic mapping function, it works well in most cases.

– Pose: TPose, it works best in Unity than other poses.

– Muscles: to test deformations and apply the limits of the joints.

By |Unity3D, Video Games Development|Commenti disabilitati su Unity 3D Game Engine – Humanoid Avatars

Unity 3D Game Engine – Blend Tree

Unity 3D Game Engine – Blend Tree

Blend Tree is useful to mix two or more Animations, for example if you have animation for ‘Running Left’ ‘Running Right’ ‘Runing Foward’ ‘Running Backward’.

1. Animator Window> RMB over an empty space> Create a State> From New Blend Tree>

2. Inspector> inside Motion Slot you will see ‘Blend Tree’ NOT a single Animation!

3. Animator Window> double click ‘Blend Tree’> Inspector:

– Name of Blend Tree

– Blend Type:
— 1D (one dimensional), it uses a single parameter, for example ‘Speed’ (value from 0 to 1)
Usa un parametro singolo per gestire l’animazione

— 2D Simple Directional, it use direction to make transitions
Usa una animazione per ogni direzione, ad esempio walkfoward walkbackward walkleft walkright

— 2D Freeform Directional, it use direction to make transitions
Usa più animazioni per la stessa direzione, ad esempio walkfoward walkbackward walkleft walkright + runfoward runbackward runleft runright

— 2D Freeform Cartesian, it use direction to make transitions

– Motion> ‘+’:
— Add Motion Field
-> DRAG AND DROP an Animation, for example ‘Run’
-> DRAG AND DROP an Animation, for example ‘Walk’
-> DRAG AND DROP an Animation, for example ‘Sneak’
or
-> click over the small circle icon
— New Blend Tree, to add nested Blend Trees (nidificati)

4. Inspector> Play animation preview and change Animator Window> Blend Tree level> Speed slide you will see:
– Speed 0 -> Run
– Speed 0.5 -> Walk
– Speed 1 -> Sneak

5. Inspector> Use the handle in the left to DRAG UP or DOWN the Motion Slots to change animations order.

– Automate Threshold (soglia):
– check it to automate threshold (crea un’interpolazione automatica)
– uncheck
— Speed
— Velocity X / Y / Z
— Angular Speed Rad / Grad

– Adjust Time scale
— Homogeneous Speed
— Reset Time Scale

By |Unity3D, Video Games Development|Commenti disabilitati su Unity 3D Game Engine – Blend Tree